
 |
| Freshly Cut |
- Q-tips
- Distilled water
- Beeswax
- Lamp
- Soft, sturdy fabric (denim from old jeans is ideal)
- Dremel tool with cotton buffing attachment (or an additional piece of denim)
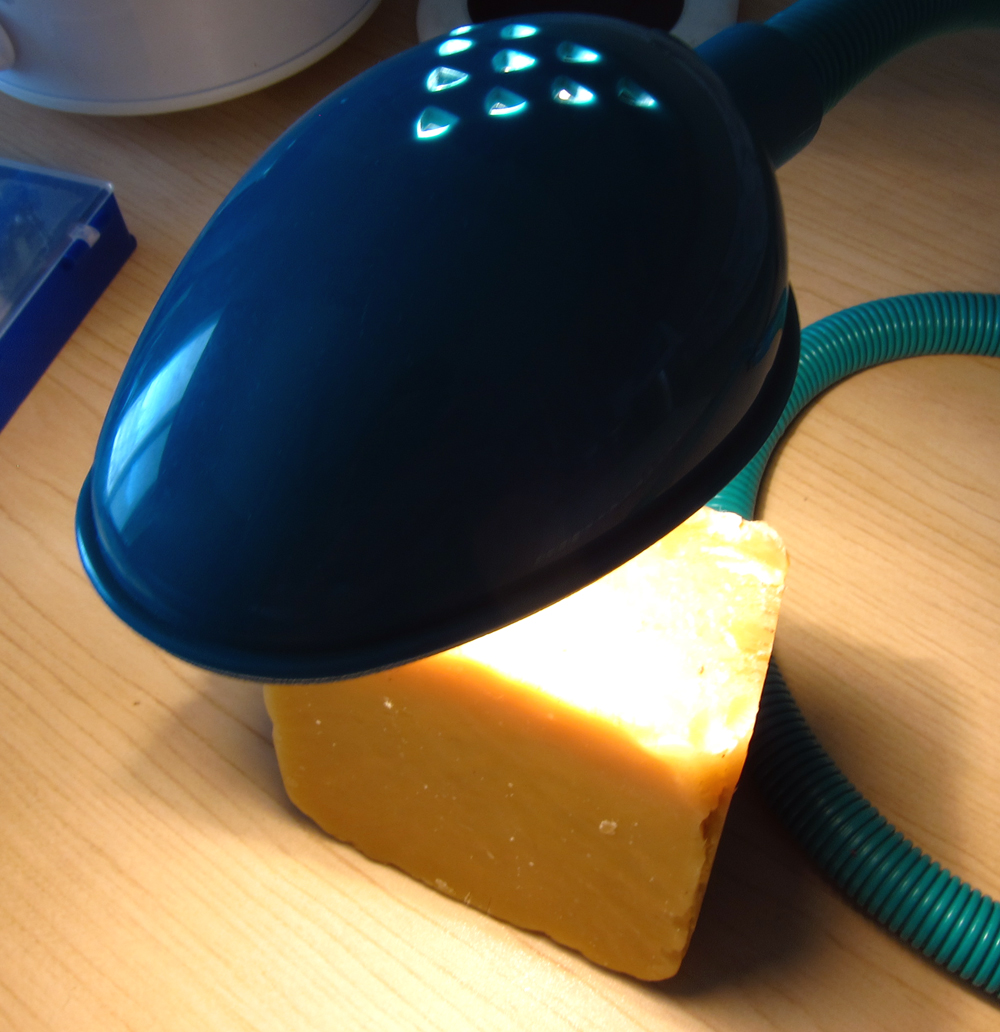 |
| Block of Beeswax with Adjustable Arm Lamp |
Cut a two inch by two inch square from the fabric, fold it over, and set aside. Dip a Q-tip in distilled water and run it over the raw edge of leather.

With light pressure, rub your fabric across this moistened edge. Keep your movement going in one direction; not back and forth. This motion will help the fibers to lay flat. The leather must stay damp throughout this process. Add water as necessary with the Q-tip and continue buffing with the fabric until smooth.

Apply the softened beeswax to a small, cotton buffing attachment on your Dremel or to the extra piece of fabric. Buff the edge of your leather with wax, moving in the same direction as before. The leather will gain a burnished feel and appearance.

Remove any extra wax from your piece with a soft cloth.
 |
| A Smooth Finish |
*Please note the leather I work with is no greater than 5 mm in thickness.*
No comments:
Post a Comment